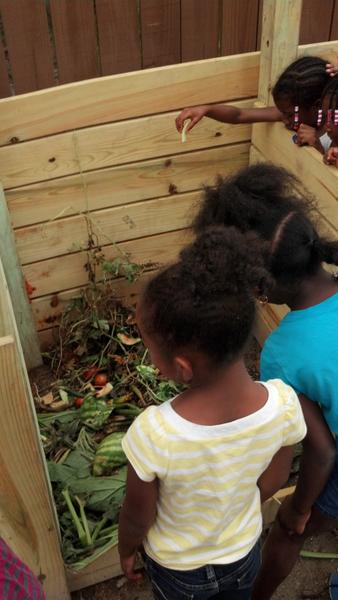
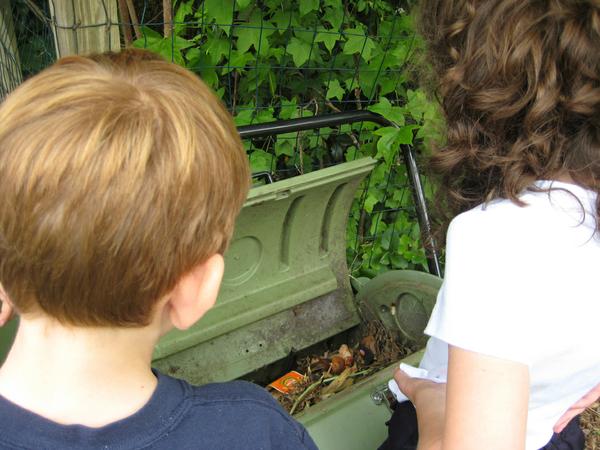
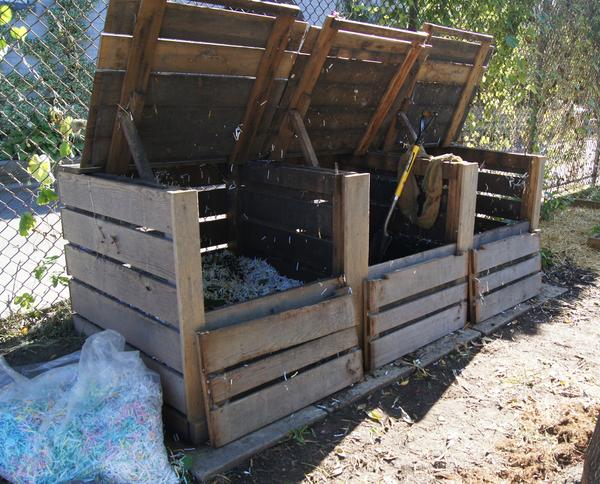
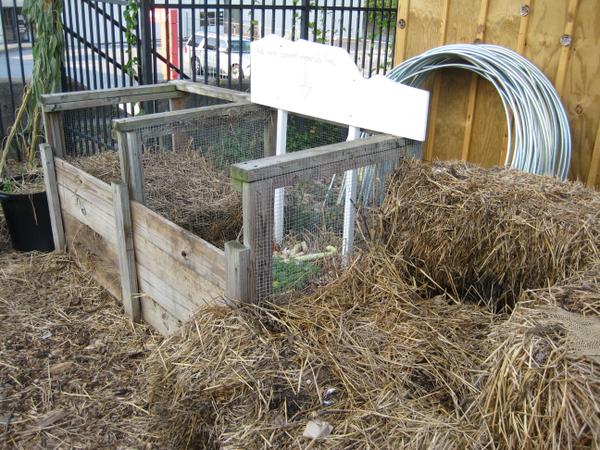
This publication is a how-to guide for starting a garden-related standard compost bin in a childcare center Outdoor Learning Environment (OLE). Included is guidance on design, construction, and management of compost bins as well as curriculum connections. This is the seventh of fifteen publications about childcare center production gardens.
Composting is an easy, natural way to recycle and absolutely fascinates children as they begin to understand nature as a process of transformation. Compost can be made from most organic materials, such as leaves, kitchen scraps, and Outdoor Learning Environment (OLE) trimmings. The finished compost can be used as a soil amendment, mulch, or both to improve the health of soil and therefore of plants.
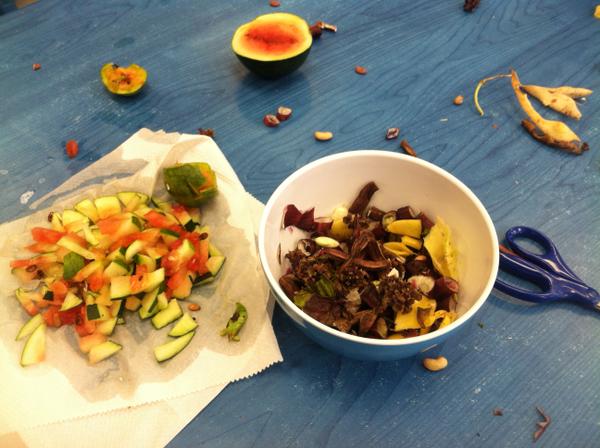
Compostable organic materials are commonly referred to as “browns” and “greens.” Browns are sugar-rich carbon sources that provide energy to microorganisms, absorb excess moisture, and provide structure to the compost. Greens are protein-rich nitrogen sources that provide energy and moisture to microorganisms.
| NITROGEN (GREEN) | CARBON (BROWN) |
| Grass clippings Vegetable scraps Fruits Coffee grounds and filters Tea bags and tea leaves Rinsed eggshells Old herbs, spices Flowers, dead blossoms Freezer-burned vegetables, fruits Aquarium water, algae, plants |
Leaves, twigs, yard trimmings Yarn, thread, string, rope Paper rolls (towel, toilet, gift wrap) Nut shells (not walnut) Straw, hay, corn cobs Newspaper, non-glossy paper Pizza and cereal boxes, paper egg cartons Grains, cereal, crackers Paper bags, baking cups Sawdust, wood bark and chips Bamboo skewers, toothpicks |
Inappropriate Items
These organic materials should not go into the compost:
- Dog or cat feces and litter
- Dirty diapers
- Used facial or toilet tissue
- Animal matter (meat, fish, bones, fats, grease, lard, oils, eggs, butter, milk, yogurt, and sour cream)
- Yard trimmings treated with chemical pesticides
- Diseased or insect-infested plants
- Black walnut tree leaves or twigs
- Weeds that have gone to seed or have invasive roots
- Charcoal ash, coal, and wood ash
- Pressure-treated lumber, pressed wood, and plywood
- Magazines, catalogs, wrapping paper, greeting cards with metallic inks, and photographs
Compost Bin Types
Composting units can be purchased as manufactured items or they can be constructed from scratch. Manufactured units are available as “tumblers” or “bins” of various types, prices, pros, and cons. Substantial information is available online to help make a decision1. Visit the N.C. Cooperative Extension composting web page to learn about types of compost bins that can be constructed.2 An uncontained “compost pile” is not recommended for childcare centers as it is challenging to manage and may be disallowed by sanitation or licensing rules.
Location
Place the compost unit in a convenient location more than six feet from buildings or wooden structures, in a flat, open space protected from floods or runoff to surface waters or wells. To help the unit retain moisture, choose a shaded area within reach of a garden hose.
Making Compost
A simple compost recipe combines leaves, grass, food scraps, and coffee grounds at a 2-to-1 ratio of browns and greens. To help make the compost hot, dust small amounts of one or more of the following (in meal form) on top of the greens: alfalfa, bone, hoof, blood, soybean, canola, or cottonseed. Alternatively, add a mixture of water and molasses, sugar, syrups, or flat soft drinks to help activate your compost.
Chop materials into small pieces so they will decompose faster. Run a lawn mower over leaves before or after raking. Add some small twigs, branches, or other rigid materials to provide structure and ventilation to the compost.
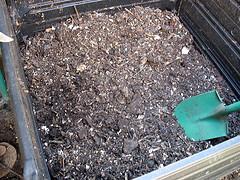
If using a compost bin, alternate brown and green layers, making the brown layers twice as thick as the green ones. Thoroughly water each layer to ensure even moisture distribution. Toss in a handful of soil on each layer to introduce more microorganisms. Top the whole pile with five inches of browns to prevent flies and other pests and provide a filter for odors.
The decomposition process will slow down if there is too little or too much moisture. About 50% moisture is needed; this means the compost should feel like a wrung-out sponge. If the compost gets too wet, add dry leaves, shredded paper, or sawdust.
Compost needs ventilation. To aerate a compost bin, turn the material with a digging fork, if possible. If this is too difficult, poke the compost layers with a pointed broom handle to help air flow. Aerating once a week will hasten the composting process.
If the bin is left alone, it takes one or two years to create compost. Compost can be ready in several months if aerated weekly. The compost volume will shrink 20% to 70% depending on the types of organic materials it contains. N.C. Cooperative Extension provides additional resources about composting.3
When ready for use, coarse, undecomposed materials can be separated from finished compost using a simple screen made with half-inch mesh hardware cloth and a wooden frame. Place the screen on top of a wheelbarrow or inclined at an angle on the ground. Load the screen with compost and use your gloved hand or a square-end shovel to scrape the compost against the screen. Remove the screen to reveal sifted compost. Materials too large to pass through the screen may be added back into the compost bin.
Using Compost
Compost can be used with potted plants, childcare center gardens, lawns, shrubs, and trees. In clay soils, compost improves aeration and drainage and makes soil easier to work with hand tools. In sandy soils, compost increases water-holding capacity and increases soil aggregation. Compost encourages healthy root systems and may help to suppress some plant diseases and pests.
Composting Activities
After several weeks, organic material can be taken from the bottom of the compost bin to observe macro-organisms, such as earthworms, mites, springtails, ants, centipedes, beetles, and millipedes4. Centipedes should not be handled because they may bite and inject venom that can be a problem for people with insect allergies.
In addition to being engaged in making compost, children can explore the biological process of compost. Billions of microorganisms and a lesser number of visible creatures do the work of composting5, which children can observe, describe, and try to identify. Preschoolers can take a sample from the compost bin with the teacher and use a microscope to see bacteria, fungi, and nematodes.
References
1 Cromell, C. and The National Gardening Association. (2015). Composting for Dummies. Accessed September 28.
3 Sherman, R. (2017). Backyard Composting of Yard, Garden, and Food Discards. AG-791. Raleigh: NC Cooperative Extension.
4 Sherman, R., Liverman, R., Maxa, E. (2020). Vermicomposting: A School Enrichment Curriculum.
5 Sherman, R. (2015). Composting: Microbe Farming. Accessed September 28.
Childcare Center Production Gardens Publication Editors
Robin C. Moore, Director
Natural Learning Initiative (NLI)
NC State College of Design
with the NLI Early Childhood Gardening Team:
Nilda Cosco
Sarah Konradi
Mary Archer
Caroline Asher
Karli Stephenson, Graphic Designer
Acknowledgments
Funding for this publication was provided in part by the John Rex Endowment.
The author wishes to express appreciation to Alison Duncan, Debra Ireland, Sam Marshall, and Elizabeth Overcash for their assistance in preparing this publication.
About the Local Foods Series: Childcare Center Production Gardens
This publication in the Local Foods series is the seventh of fifteen publications about childcare center production gardens:
- Growing and Cooking Fruits and Vegetables at Childcare Centers (LF-007-01)
- Creating Childcare Center Production Gardens (LF-007-02)
- Growing Warm-Season Fruits and Vegetables in Childcare Production Gardens (LF-007-03)
- Growing Cool-Season Vegetables in Childcare Production Gardens (LF-007-04)
- Snacking and Cooking with Warm-Season Produce from Childcare Production Gardens (LF-007-05)
- Snacking and Cooking with Cool-Season Produce from Childcare Production Gardens (LF-007-06)
- Composting in Childcare Center Production Gardens (LF-007-07)
- Vermicomposting in the Childcare Center Production Gardens (LF-007-08)
- Introducing Children to Insects in Childcare Center Gardens (LF-007-09)
- Easy Fruits to Grow at Childcare Center Gardens (LF-007-10)
- Growing Strawberries in Childcare Center Gardens (LF-007-11)
- Managing Weeds in Childcare Center Gardens (LF-007-12)
- Growing Fruit Trees in Childcare Center Gardens (LF-007-13)
- Growing Muscadines in Childcare Center Gardens (LF-007-14)
- Growing Blueberries in Childcare Center Gardens (LF-007-15)
Publication date: Aug. 3, 2020
LF-007-07
N.C. Cooperative Extension prohibits discrimination and harassment regardless of age, color, disability, family and marital status, gender identity, national origin, political beliefs, race, religion, sex (including pregnancy), sexual orientation and veteran status.

